Today's post wraps up my week of blogging about the revamp of our family room fireplace and built-in bookcases (Monday's post detailed painting the bookcases and adding new moulding and hardware and Wednesday's post was a low-down on designing the stone veneer fireplace).

Now we're on to my favorite part of the project - lining the back of the bookcases with burlap! I knew that I wanted to break up the sea of white by doing something different with the back of the bookcases and had originally planned on using paint or wallpaper but was worried that adding too much color or pattern would limit the type of things that I could style the shelves with. After working with my daughter to sew burlap bunnies for Easter, the idea to use burlap for the back of the bookcases was born! I decided to use small upholstery tacks around the edges to anchor it to the bookcase and add a decorative touch, creating a look similar to the burlap back of my favorite chair!:

So here's the easy DIY tutorial:

Supplies for the project are pretty basic: (1) yardage of burlap that is at least 3" inches wider and longer than the measurements of your bookcase, (2) steel upholstery tacks, and (3) a tack hammer. I got my burlap and tacks from Hobby Lobby and already had a tack hammer on hand but if you don't, you can pick one up for under $5 at Harbor Freight.

Start out by cutting your piece of burlap so that it is about 4" longer and 4" wider than the back of your bookcase. Iron out the wrinkles. One of your four edges will be a straight, "finished" edge (the original edge on the bolt of fabric) whereas the other three edges are probably a bit uneven because they have been cut - uneven is ok at this point! Starting with your finished edge, fold over 1" of burlap along the entire length of the side and iron it down, keeping the ironed edge as straight as possible. Next, do the same thing (fold down and iron) along the entire length of one of the neighboring sides, making sure that your folded edge is straight and that there is a minimum of 1" of burlap folded over along the entire length of the edge. Then, using the measurements of the height and width of your bookcase back, fold down and iron the length of the other two sides of your burlap piece so that the height and width of your burlap match that of the bookcase back. The final step to prepare your burlap is to cut the entire length of the three unfinished burlap edges exactly 1" from the ironed edge - do so by using a yard stick or tape measure and marking a straight 1" line with a fabric marking pen or chalk:

Once you have done this to all three unfinished edges, the back of your piece of burlap should look something like this all of the way around:

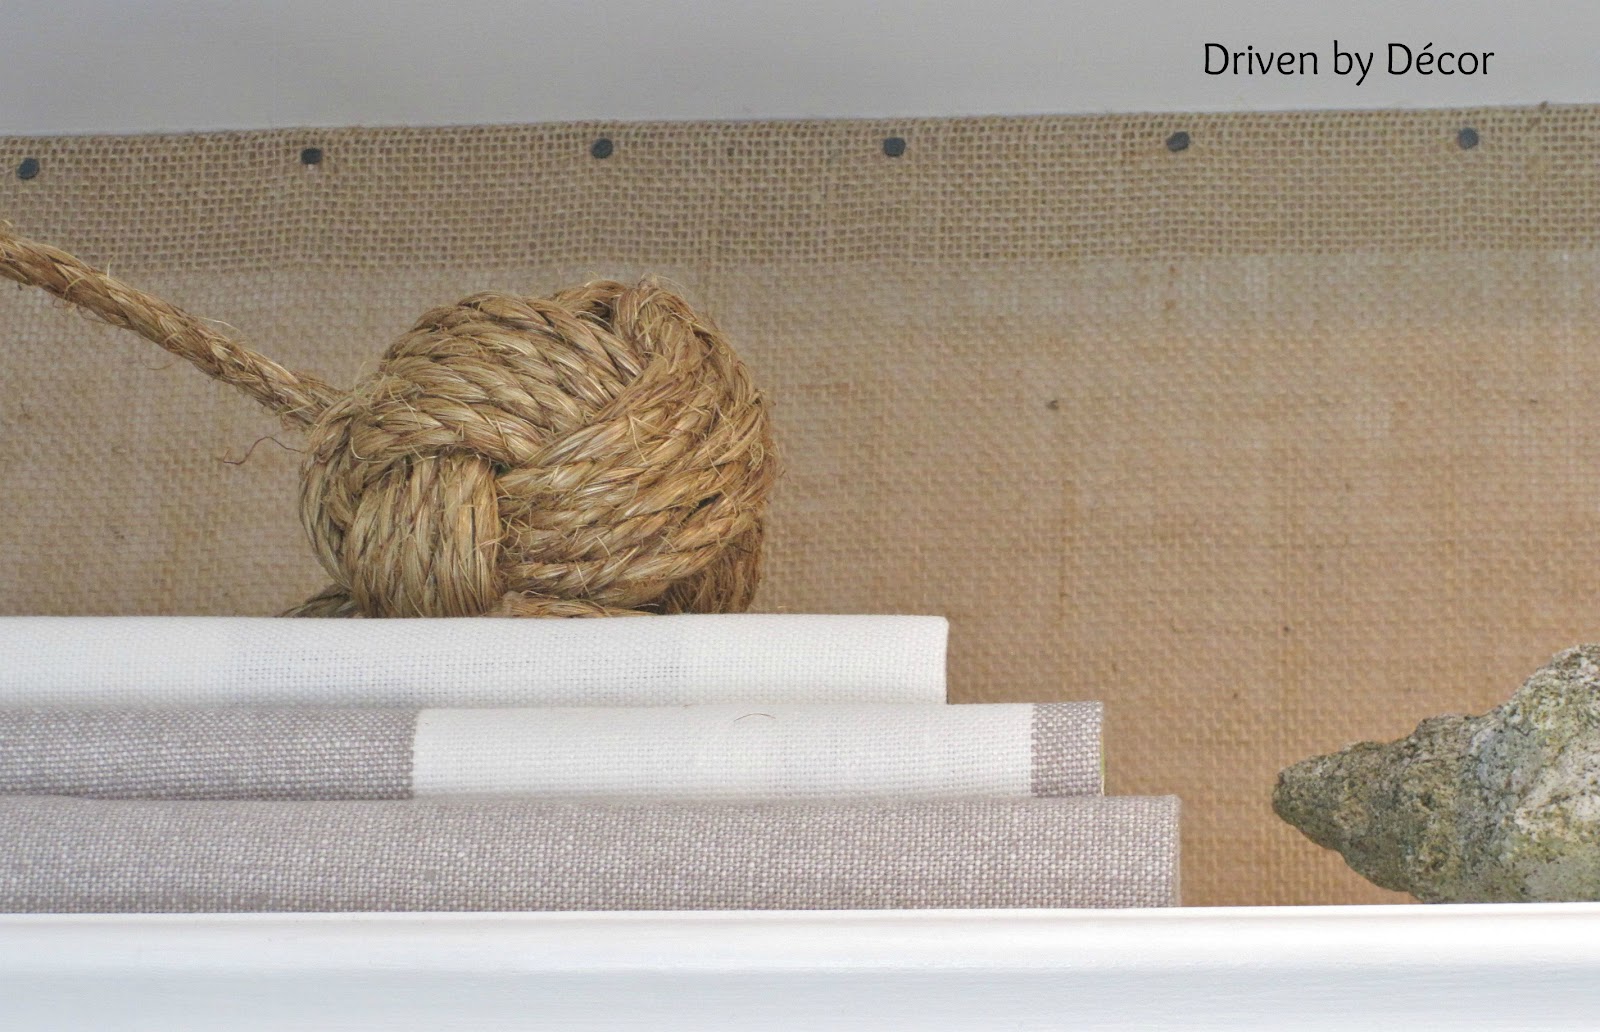
Why is it important for the folded over burlap to have a straight edge? Due to the loose weave of burlap, when you attach it to your bookcase, the 1" piece that is folded under will show through the front and create the look of a border so you want it to be neat and even:


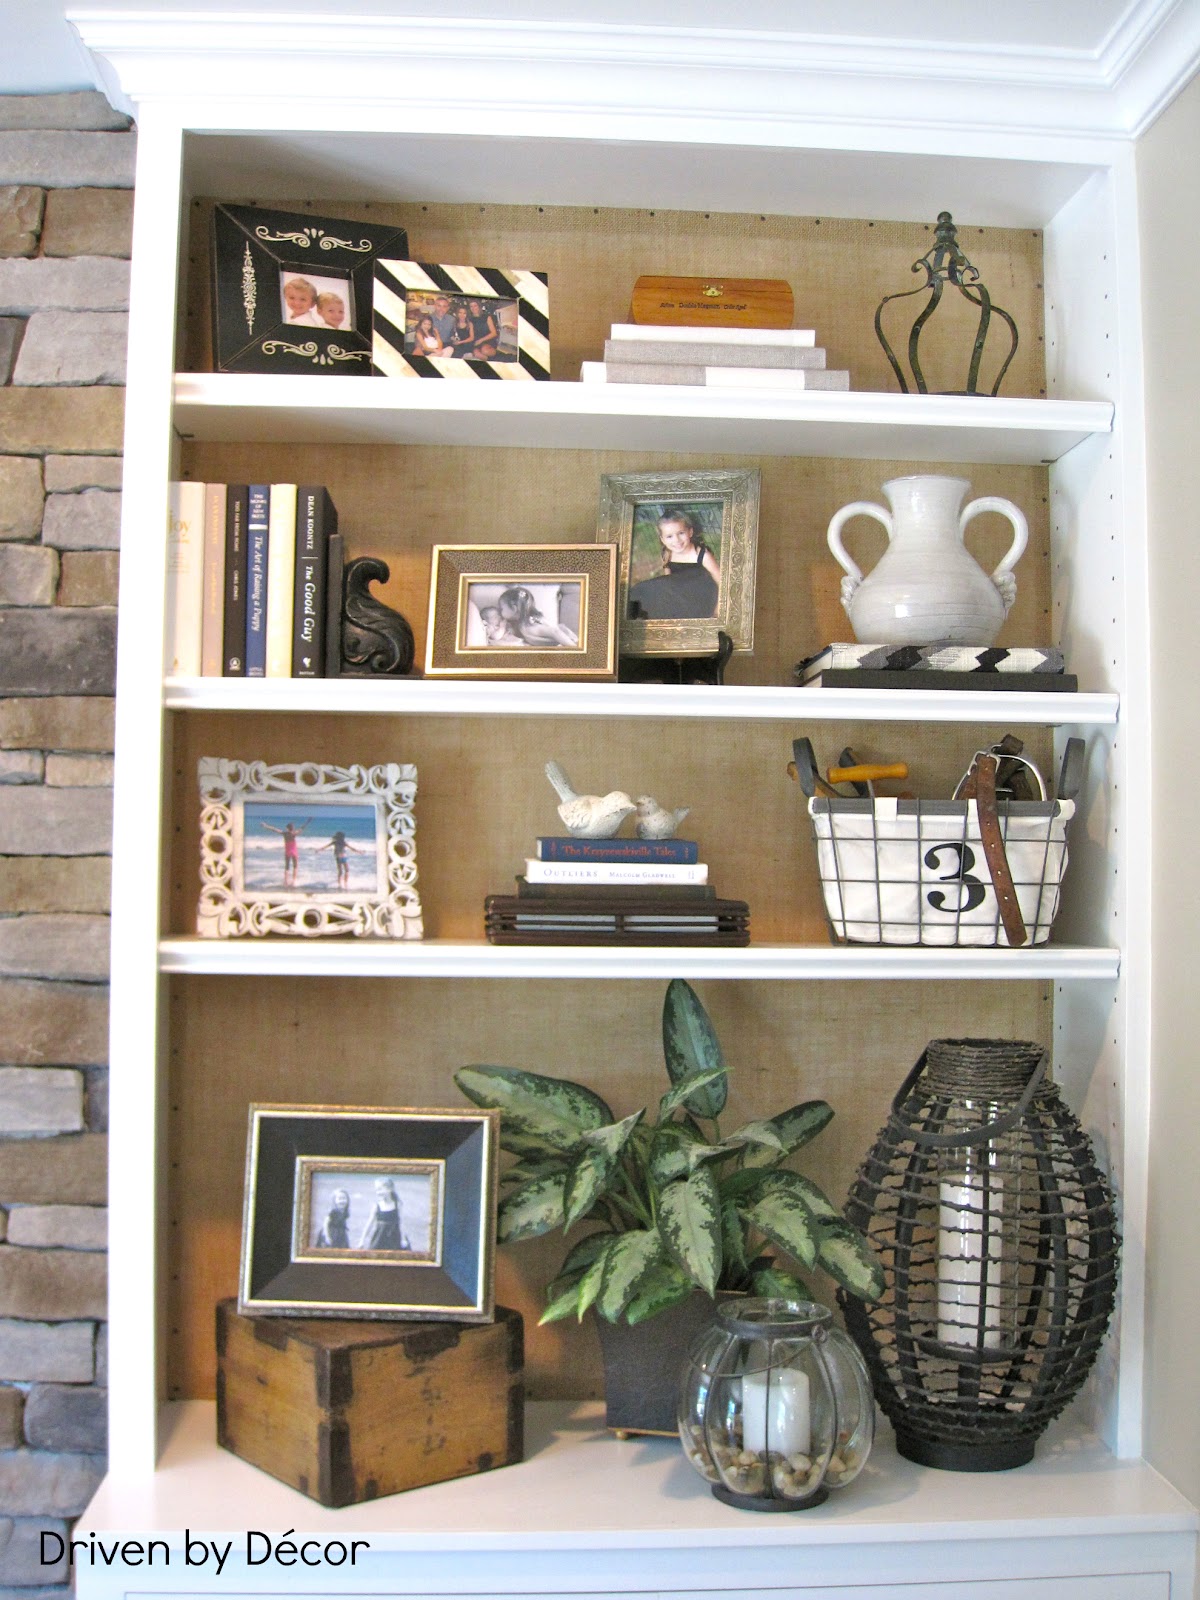
I'm loving the warmth and texture that the burlap adds to the room and that the burlap is a neutral backdrop that gives me a lot of flexibility in how I style the shelves. Speaking of styling my shelves, I used a lot of the frames, etc. that I had on the shelves before the makeover but also added some new elements based on some of the inspiration photos I collected on my "styling bookcases" Pinterest board. The styling is much better than it used to be but still definitely needs some tweaking - add it to the list of works in progress...


Thanks for stopping by! Enjoy your weekend!
