Showing posts with label DIY. Show all posts

Monday, May 21, 2012

Living Room update

Well, here they are as promised-pictures of the Living Room updates I've been working on.


I'm in the process of painting the china hutch that goes in the corner....looks a little naked right now. I also need to reposition the rug, it needs to go further under the couch about another foot. My hubby will be SO excited to help move it...again. :)


Sorry for the awful lighting, I had to use my flash.....really hard to get a good picture of this front window. I still need to paint and reupholster these chairs, maybe when pigs fly after Isaac is born. That little stool is also begging for a makeover.


DIY painting I did inspired by the fabulous Caroline Wright.


New rug from overstock.com and coffee table from a local used furniture store (for $22!!).


I bought bamboo shades for both windows and measured wrong on the side window, woops, so I still need to exchange the shade and get it hung. Pillow fabric is a velvet from Holly Hunt.


P


Still trying to find a floor lamp to put next to my pink chair, oil painting is of my Grandmother (on loan from my Mom).


I'm still working on the other side of the room....tweaking my gallery wall just a little and attempting a pair of DIY faux painted bone inlaid mirrors.

Oh, the projects I decide to take on when I'm pregnant!! :)

TGIF........

Oh how I wish that were true! This is not Friday for me. You see my hubs doesn't get weekends off. He gets two days off (usually) during the week but they are RARELY back to back. So for all of you who have Monday-Friday jobs and get to spend the whole weekend with your family...........I am SO jealous!!!!!

Next weekend, however he is taking (fingers crossed) a four day weekend and it can't come soon enough. In order to take the time off he is working straight through this weekend and coming week. It's going to be a long week!

In other news, things are starting to come together around the old casa Waddell. I have a ton of projects on my plate right now but at least I am making progress.....slow and steady wins the race, right?! I'm going to be stripping a vintage dresser soon and I think I am going to try my hand at liming it.

Source: google.com via Katie on Pinterest


So beautiful!!!

Have any good tutorials/advice for me? I really love the look but I'm a little worried because I have no clue what kind of wood this dresser is made out of. It's not particle board or anything (it's vintage Thomasville) but it may have some kind of veneer. I guess I'll find out soon enough.

Oh and remember this hardware? It will be going on the dresser when I'm done.


Can't wait to get it all done!

Also looky what I found.

$87.30-They also come in a black/dark finish.


Although I'm not loving the finish (Rub n' Buff to the rescue!!) I think this is a great budget friendly look-a-like to the Circa Lighting sconces we've all seen everywhere!!
Source: google.com via Katie on Pinterest


Hope you have a fabulous weekend!!!!!

By the way, what do you think of Pinterest's new layout??

I kind of love it, SO much better than timeline on Facebook!

Faux inlay bone DIY


Remember this faux inlaid bone console table that Kristen hand painted?

I love how it turned out and I REALLY wanted to try my hand at it. (I blame the pregnancy hormones)

I have a pair of round mirrors that I thought would be perfect for this DIY, here was my inspiration picture:
Source: google.com via Katie on Pinterest


And here is my version.


I may end up going over the white parts with a darker glaze just so it's not so stark but I'm going to give it a few days and then decide.


Is it perfect? No way.

Can you tell it's hand painted and not inlaid bone? Sure.

Am I happy with how it turned out? Yes!

I couldn't ever afford a real piece so this substitute is fine by me. I'll post pictures of the pair of them together soon, we've been working on rearranging the whole living room and everythings a mess right now.

Hope you are having a great weekend!

Dresser reveal

 It's been three weeks since I started this project and the weather, our kids and our schedules just would not cooperate. We've had sick kids, long hours at work for the hubs, contractions for me and a spring blizzard. But I am happy to say that against all odds I am finally finished!


I don't have much of a before photo just this one that I snapped in the middle if moving Phin's stuff into Jude's room last summer.


Here is what she looks like now.................


I have a feeling that the Briwax Liming Wax would've been easier to work with but I'm happy with how it turned out. I decided at the last minute to spray paint the feet mint green and I'm kind of loving it!

I'm so glad to have this done so I can move onto finishing the rest of Isaac's nursery. 

 Only about 9 weeks to go!!


Are you tired of Before and Afters yet??

So, the china cabinet has been finished for about a week now, I just haven't gotten around to taking a picture. Life has been crazy around here lately....what's new right!?

 My poor hubby came down with an awful toothache on Tuesday and by Wednesday couldn't eat or talk he was in so much pain. He finally got in with his dentist on Thursday morning and found out he needs a root canal.......the kicker though? They couldn't do it until Monday morning. So he's all hopped up on Vicodin and Percocet until then. On top of that I failed the one hour glucose test (routine test for pregnant women usually done around 28 weeks to check for gestational diabetes.) and now have to go do the three hour test (with fasting for 12 hours prior) after his dental work on Monday. Ugh, what a way to start the week!

Anyway back to the china cabinet now........to refresh your memory, here's the before.


And the afters..............


I also gave my clam shell a little makeover and painted the inside with gold acrylic paint (after I saw this post from Christine.) And yes, those are flowers are fake and I don't care so get over it. ; )


You can kind of see the new living room set up, this is the wall where the sideboard and TV were before. I'm working on some finishing touches, including reupholstering our behemouth ottoman before I show you the rest of the room. Soon.....hopefully.

Happy weekend people-think fondly of me while you're drinking your coffee and eating some delicious pastry on Monday morning!


Something witty........

Sorry for the silence around here.

Over the last two weeks we've passed around, sinus infections, fevers and the stomach flu at our house.

(Throwing up at 8 months pregnant is a hell I wouldn't wish on my worst enemies!)

We've been through countless loads of laundry, bottles of Pepto and had to throw out the area rug in the boys room after a particularly disgusting diaper change. 

Thankfully we had another one to take it's place.

In between illnesses I was able to finally get the print from my Aunt hung over Isaac's crib. I used this tutorial (from Jenny the DIY Queen) because I still want to have a mobile of some sort and didn't want it to compete too much with a bulky frame.


Sorry for the glare and reflections in these photos, it was very difficult to photograph!


As for the mobile I have two ideas.

I love this mobile from YLiving and it looks like a really simple DIY.
Source: yliving.com via Katie on Pinterest


The other option is using origami cranes to make one similar to this.


My sweet friend Jessica's oldest daughter loves origami and offered to make me a bunch of cranes. I still can't decide what color paper I would pick, most likely white....we'll see.

In other news, I was at my parents house last week, alone and with some time on my hands so I turned on HGTV and caught an episode of Selling L.A.

Am I the only one who could watch real estate shows every night F-O-R-E-V-E-R??

And yes that was a Sandlot reference.

House Hunters is hit or miss most of the time and like Naomi I totally make fun of the homeowners!

But Selling New York and Selling L.A. are great......so great that I am looking forward to having this baby just so I can watch cable at the hospital.

And of course see my little man....don't hate on me just yet people!

Anyway, that's the latest around here.

Tune in tomorrow for discussion about our master bedroom plans.....which translated means put on your thinking caps cuz I need help!

DIY Project: Burlap Backed Bookcases


Today's post wraps up my week of blogging about the revamp of our family room fireplace and built-in bookcases (Monday's post detailed painting the bookcases and adding new moulding and hardware and Wednesday's post was a low-down on designing the stone veneer fireplace).  


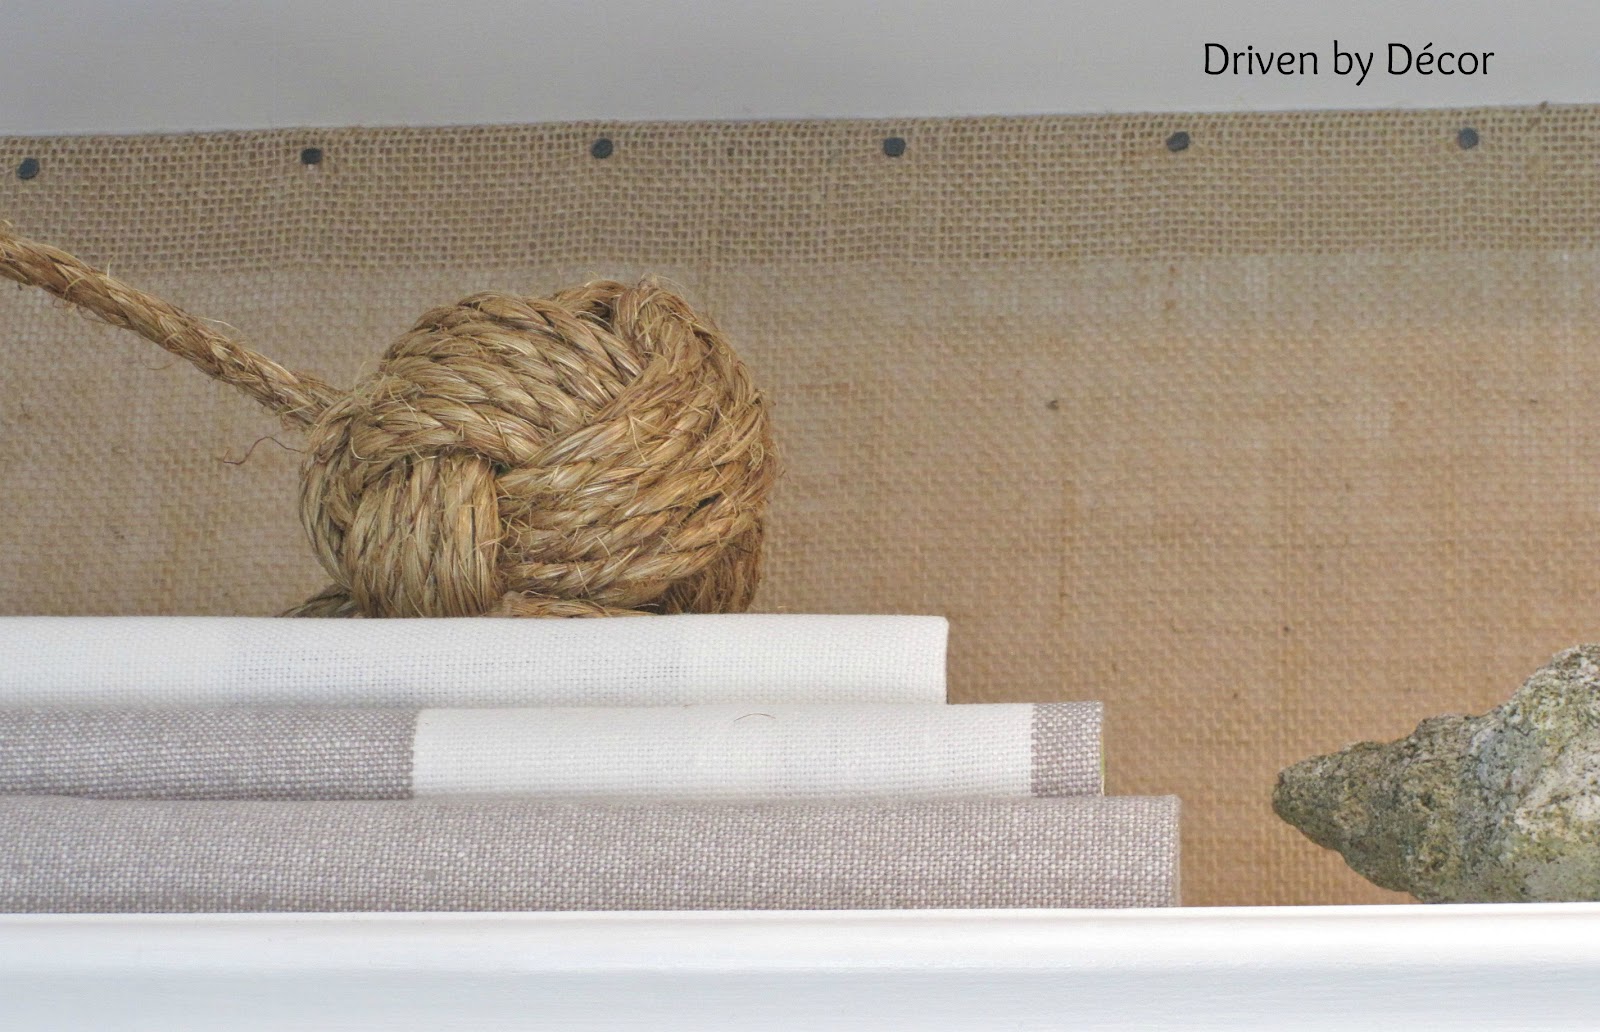
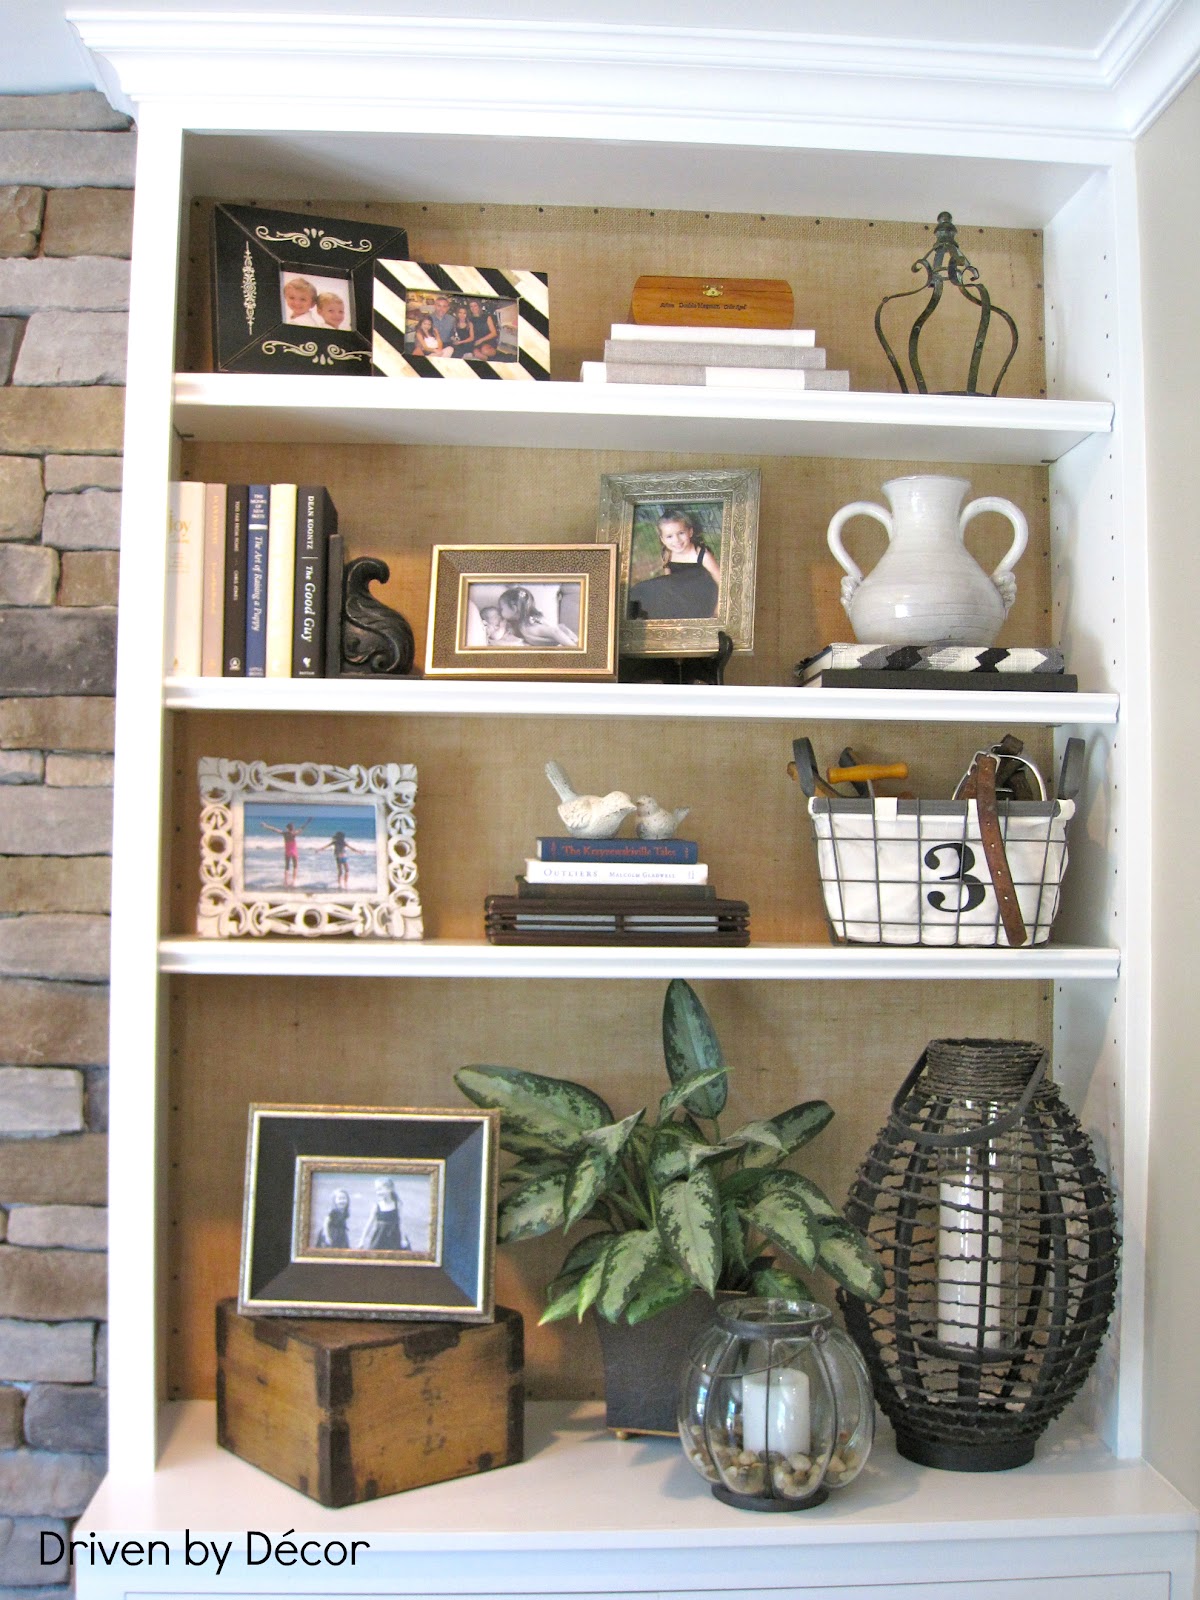
Now we're on to my favorite part of the project - lining the back of the bookcases with burlap! I knew that I wanted to break up the sea of white by doing something different with the back of the bookcases and had originally planned on using paint or wallpaper but was worried that adding too much color or pattern would limit the type of things that I could style the shelves with.  After working with my daughter to sew burlap bunnies for Easter, the idea to use burlap for the back of the bookcases was born! I decided to use small upholstery tacks around the edges to anchor it to the bookcase and add a decorative touch, creating a look similar to the burlap back of my favorite chair!:


So here's the easy DIY tutorial:


Supplies for the project are pretty basic: (1) yardage of burlap that is at least 3" inches wider and longer than the measurements of your bookcase, (2) steel upholstery tacks, and (3) a tack hammer. I got my burlap and tacks from Hobby Lobby and already had a tack hammer on hand but if you don't, you can pick one up for under $5 at Harbor Freight.


Start out by cutting your piece of burlap so that it is about 4" longer and 4" wider than the back of your bookcase. Iron out the wrinkles. One of your four edges will be a straight, "finished" edge (the original edge on the bolt of fabric) whereas the other three edges are probably a bit uneven because they have been cut - uneven is ok at this point!  Starting with your finished edge, fold over 1" of burlap along the entire length of the side and iron it down, keeping the ironed edge as straight as possible. Next, do the same thing (fold down and iron) along the entire length of one of the neighboring sides, making sure that your folded edge is straight and that there is a minimum of 1" of burlap folded over along the entire length of the edge. Then, using the measurements of the height and width of your bookcase back, fold down and iron the length of the other two sides of your burlap piece so that the height and width of your burlap match that of the bookcase back. The final step to prepare your burlap is to cut the entire length of the three unfinished burlap edges exactly 1" from the ironed edge - do so by using a yard stick or tape measure and marking a straight 1" line with a fabric marking pen or chalk:  


Once you have done this to all three unfinished edges, the back of your piece of burlap should look something like this all of the way around:


Why is it important for the folded over burlap to have a straight edge? Due to the loose weave of burlap, when you attach it to your bookcase, the 1" piece that is folded under will show through the front and create the look of a border so you want it to be neat and even:  


The last step before you get out the hammer and tacks is to do a little math - you want your tacks to be evenly spaced all the way around. Using the measurements of the length and width of the back of your bookcase, figure out a spacing that will work for you.  I ended up putting my tacks about 3" apart.  Finally, start nailing in your tacks - start with the top edge, then do each side, then do the bottom edge.  I kept a short ruler in my hand which I was hammering the tacks to keep them at the desired spacing.  I recommend that initially you not hammer the tacks all the way in - hammer them in just enough that they are holding the burlap firmly in place.  This way, if your spacing gets off and you need to pull out any of the tacks and move them, it's easy to do.  Once you've gone all the way around the edge of your burlap, if you're happy with the spacing of the tacks go back around with the hammer and nail them in all the way. Done!


I'm loving the warmth and texture that the burlap adds to the room and that the burlap is a neutral backdrop that gives me a lot of flexibility in how I style the shelves. Speaking of styling my shelves, I used a lot of the frames, etc. that I had on the shelves before the makeover but also added some new elements based on some of the inspiration photos I collected on my "styling bookcases" Pinterest board.  The styling is much better than it used to be but still definitely needs some tweaking - add it to the list of works in progress...


Thanks for stopping by!  Enjoy your weekend!